Note: If this dialog box does not appear, click ![]() Reset under Tools, Options, Prompts in the Laserfiche Client menu bar.
Reset under Tools, Options, Prompts in the Laserfiche Client menu bar.
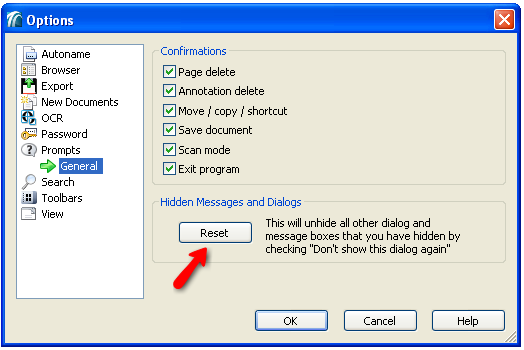
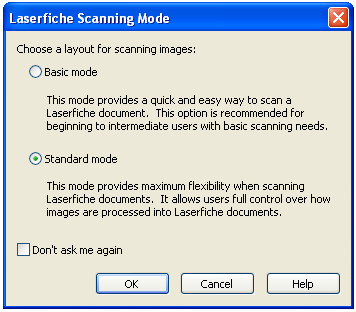
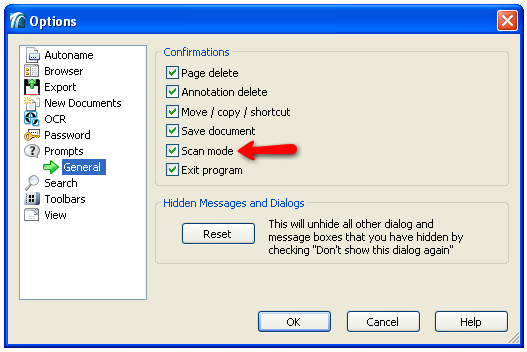
Note: The Laserfiche Client will only prompt you to select a scanning mode if the ![]() Scan Mode option is selected under Tools, Options, Prompts. If this option is not selected, Laserfiche Scanning will always open in the mode most recently used.
Scan Mode option is selected under Tools, Options, Prompts. If this option is not selected, Laserfiche Scanning will always open in the mode most recently used.
 button from the toolbar to begin scanning.
Note: In the event of a paper jam, resolve the jam then select the button from the toolbar to resume scanning.
Note: During the review process, a document's name, template, and volume cannot be edited when scanning pages into an existing document.